How to edit Freepik .EPS file without Adobe softwares
How to edit a mockup file that you have downloaded from freepik.com or any other website and has .eps format.
There are two methods to do this:
1- A website photopea.com
2- A free software “Inkscape”
Method 1
step 1 – Visit photopea
If you don’t have Adobe softwares than no worries there is a web based application that allows you to edit and export design files for free without any download or log in.

Step 2
All design files from www.freepik.com come in a zip file. Unzip the file and look for .eps file
Step 3
Select Open from computer option in photopea and choose .eps file

After you have imported successfully you will see all layers of the file. You can edit, delete, change color or make any change to it.
Step 4

After you have edited the file go to File > Export as > select any format you want.

After selecting the format you will get this window. You can change the file size change quality of image.
(This window may view zoomed in preview of your image, in order to view it fully put your cursor on image and scroll down the mouse it will view it in full size, anyhow it does not actually get cropped in actual file and you can neglect it.)
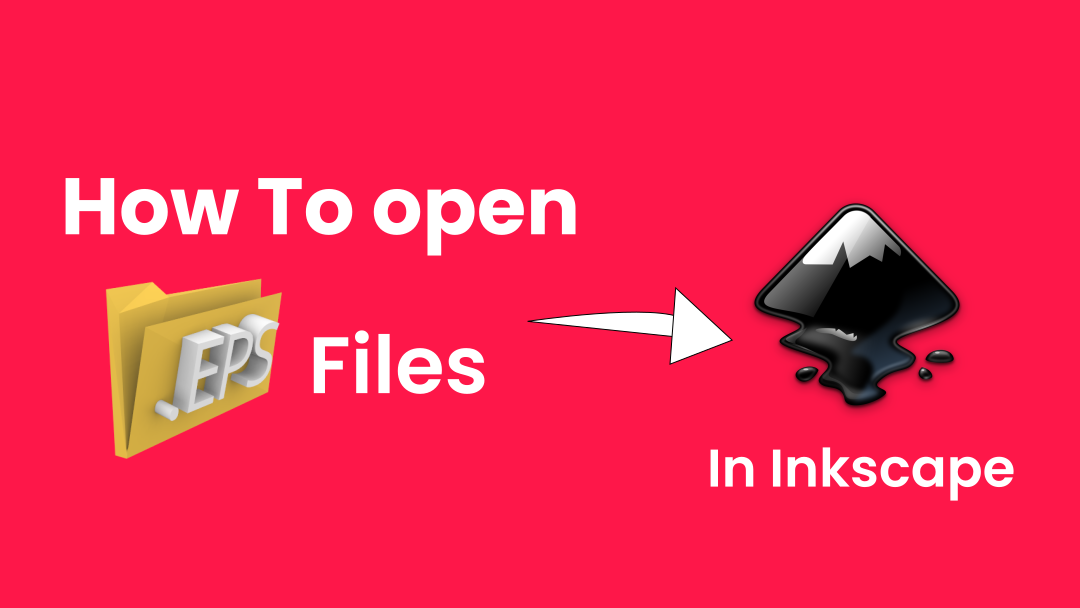
Method 2
Using a free software inkscape.
Link: https://inkscape.org/release/inkscape-1.0.2/
This software is completely free and available for windows, mac & Linux users.
Now one thing you must be aware of is .eps format was built by adobe developers and many softwares do not support this format. In case you are using windows you need to add an extension in order to make it run .eps files.
You can learn it by following this article. It’s very easy.
Step 1
After you have added that extension (to support eps in Inkscape). Open up the software.
Now drag and drop the .eps file to inkscape.

Step 2
After you have made changes. Press ctrl + shift + E and click export after selecting the location where you want to save the image. If you want to save it as svg, you can do so by going to file > save a copy and save it.